Wordpress Appointment Schedule Booking System Pro
wp plugin for appointment scheduling & booking
Thank you for purchasing our "Wordpress Appointment Schedule Booking System Pro" Plugin. If you have any questions that are beyond the scope of this help file, please feel free to email via our user page contact form. Thank you so much!
“Wordpress Appointment Schedule Booking System Pro” plugin is a WordPress appointment scheduling plugin that allows your customers to book appointments for the services directly from your website.
“Wordpress Appointment Schedule Booking System Pro” plugin is the powerful scheduling plugin which has most features and user-friendly interface with flexible admin panel.
By this plugin your customers will take a quick view on your services and can book a suitable appointment schedule in specific time and date slot.
“Wordpress Appointment Schedule Booking System Pro” plugin is make for service professionals like doctors, lawyer, consultants, therapists, tutors, instructors, singer, artist, photographers, stylists and others who need to schedule their time and date with clients through online.You can create your appointment schedule in a particular date and time.
“Wordpress Appointment Schedule Booking System Pro” plugin is integrated with PayPal or Manual Payment systems.
“Wordpress Appointment Schedule Booking System Pro” plugin is well implemented with all the necessary features that will make the online booking simpler and easier for your customers.
“Wordpress Appointment Schedule Booking System Pro”plugin has some excellent features and very easy to install or setup. “SC Appointment Schedule”plugin is more flexible and compatible with many existing plugins in the wordpress repository. This plugin is fully customizable. Users can easily configure the plugin into the new or existing wordpress websites.
- Customers/Clients can book appointments for the services directly from website.
- Customers/Clients can take a quick view on your services.
- User-friendly interface with flexible admin panel.
- Make appointment schedule in specific time and date slot.
- This plugin is make for doctors, lawyers, consultants, therapists, tutors, instructors, singer, artist, photographers, stylists and others who need to schedule their time and date forcustomers/clients through online.
- Payment gateway is integrated with PayPal or Manual Payment systems.
- You can “Add” and “Manage” schedule from admin panel with timeslot, service and venue.
- You can “Add” and “Manage” venue from admin panel.
- You can “Add” and “Manage” services from admin panel with price and multiple options.
- You can “Add” and “Manage” timeslot from admin panel with start time, end time and time interval.
- You can “Add” and “Manage” appointment scheduling from admin panel with various options.
- Date calendar will be configured according to your service week day.
- You can view the appointment calendar and can add/edit appointment from admin panel.
- You can change the background color of “Processing” and “Booked” field of appointment calendar.
- You can fix frontend CSS from admin.
- Download the plugin.
- Unzip the file “appoint_scappointment.zip” and upload the folder to the “/wp-content/plugins/” directory.
- Activate the plugin from “Plugins” menu in Wordpress Admin.
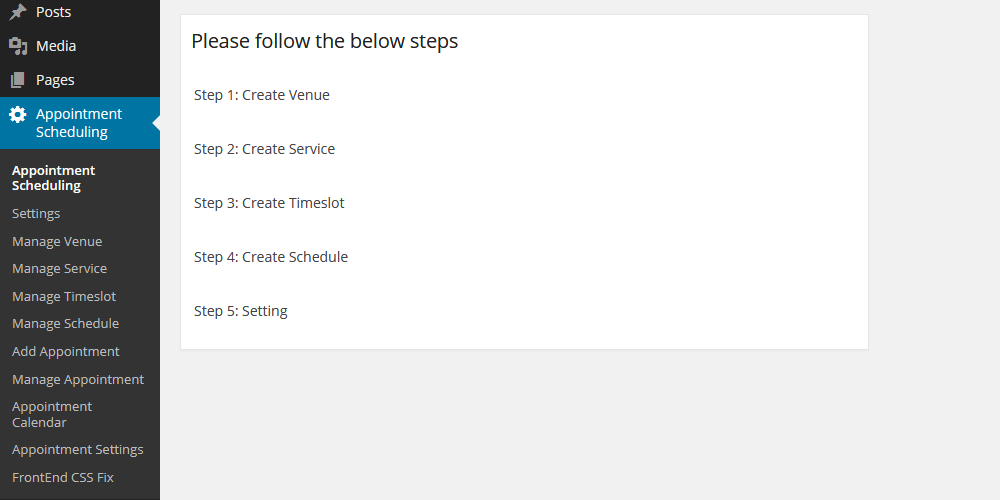
- Go to “Appointment Scheduling” of Admin Dashboard and configure your settings.
- At first you should create a “Schedule” for appointment. To create a schedule you need to add Timeslot, Service and Venue first.
- To “Add Schedule” go to Appointment Scheduling > Manage Schedule > Add New of admin dashboard and insert Schedule Name, Timeslot, Service and Venue.
- After create a schedule you can add/book appointment from admin and normal user can book appointment from frontend’s SC Appointment Calendar page.
- Admin can set “Booked Background” color of appointment calendar from Appointment Scheduling > Appointment Settings.
- Advance user can add CSS (Cascading Style Sheet) from Appointment Scheduling > Frontend CSS Fix.
- Finally configure your payment settings from Appointment Scheduling > Payment Settings. In Payment Settings > General tab, you must insert all the fields including "Currency". You can add Paypal and Manual Payment system.
Note: When you install the plugin, it will automatically create a page named "SC Appointment Calendar" with ShordCode. But if it is not happen then create a page "SC Appointment Calendar" or any other name manually with the ShortCode "[appoint_sccalendar]".

In this section, select your "Country", insert "Admin Email", "Tax" percentage and must be select your "Currency".

In the Payment section, you can set "Manual Payment" or "Paypal". In manual payment option, just check "Enable Manual Payment", add "Title" and "Manual Payment Description". If you choose paypal payment system, just check on "Enable Paypal" and insert "Title", "Paypal Email", "API Username", "API Password", "API Signature" and select "Paypal Mode".
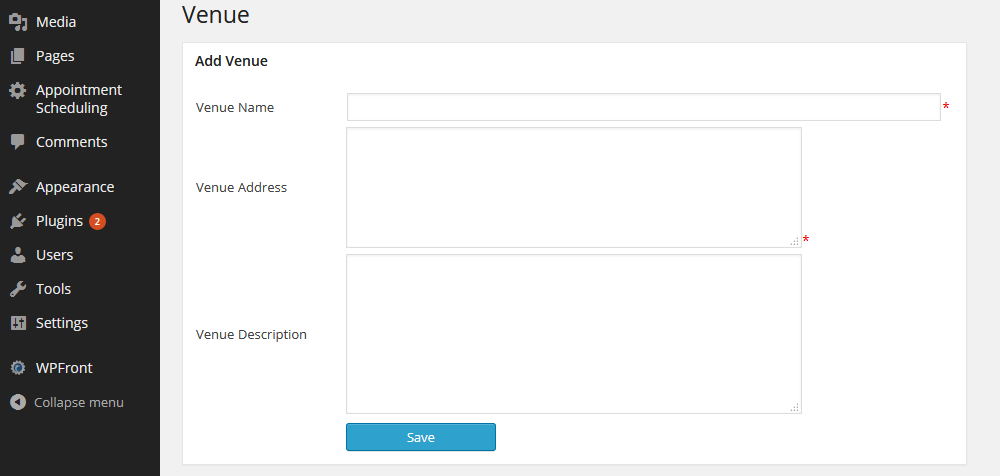
Add new Venue form Appointment Scheduling > Manage Venue > Add New.
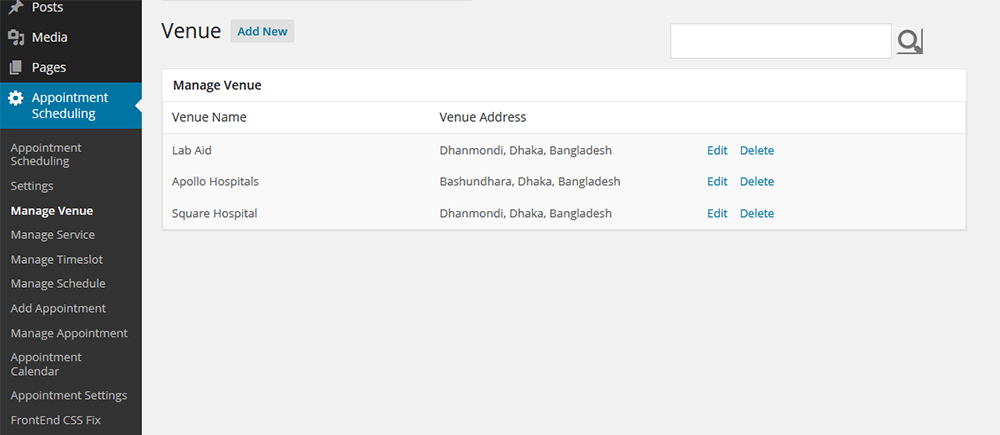
This option display all Venues list.
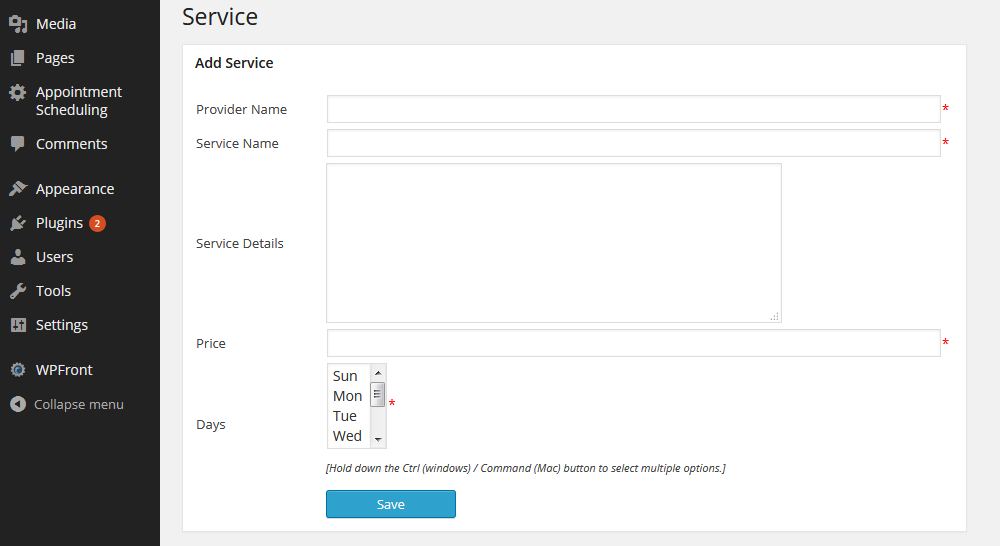
Add new Service form Appointment Scheduling > Manage Services > Add New.
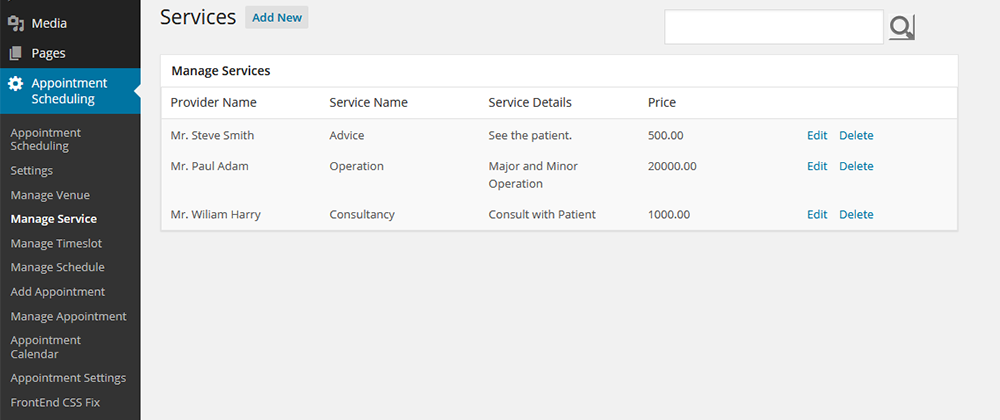
This option display all Services list.

Add new Timeslot form Appointment Scheduling > Manage Timeslot > Add New.

This option display all Timeslots.
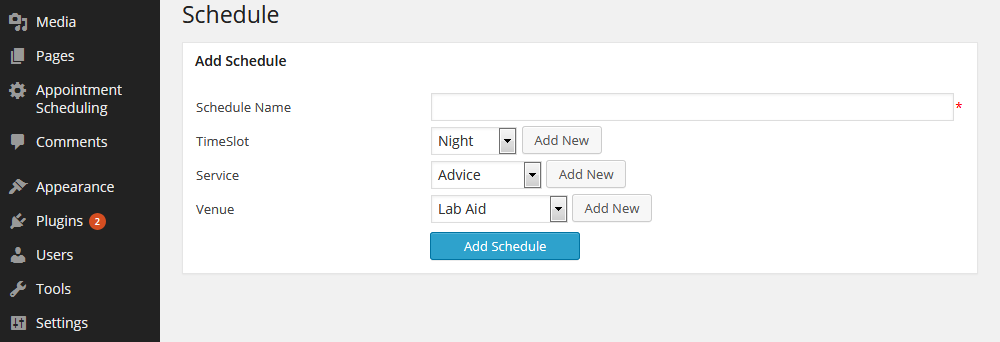
Add new Schedule form Appointment Scheduling > Manage Schedule > Add New. Before add a schedule, you must insert Timeslot, Service and Venue.
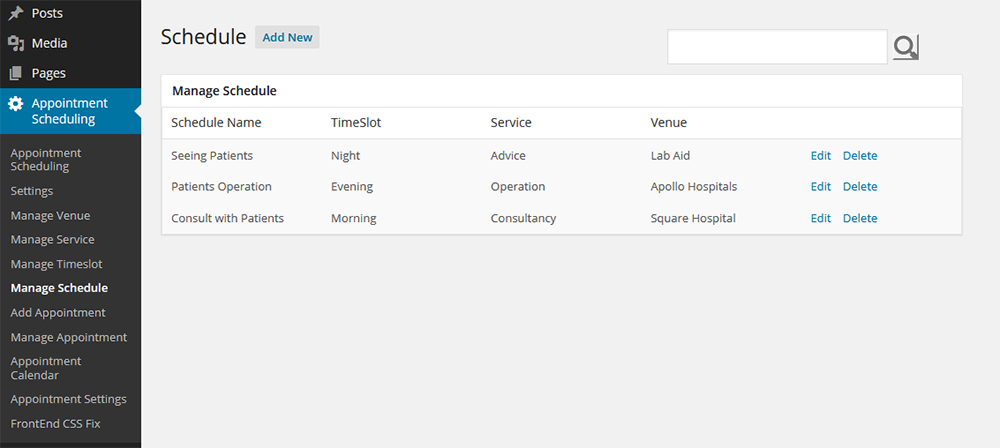
This option display all Schedules.
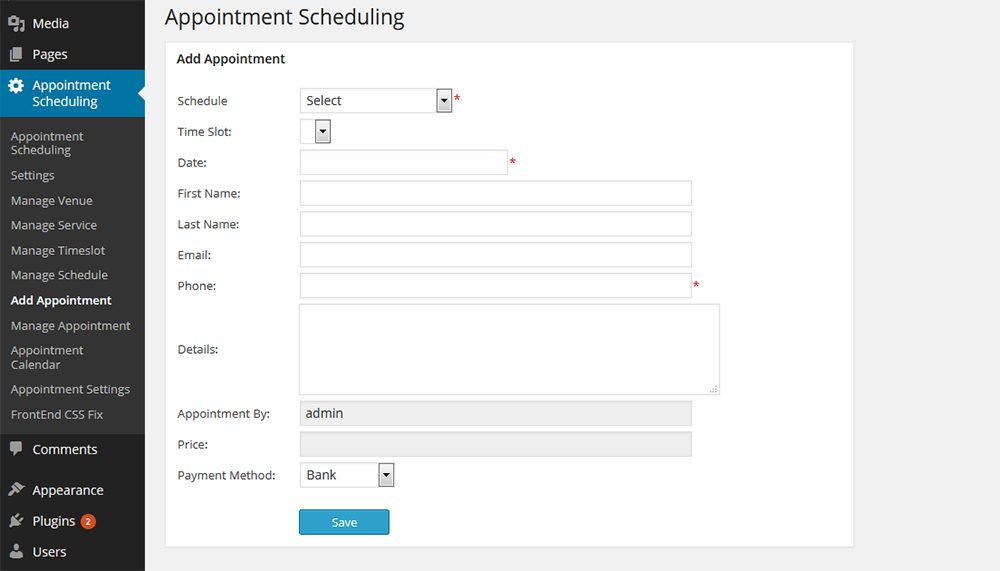
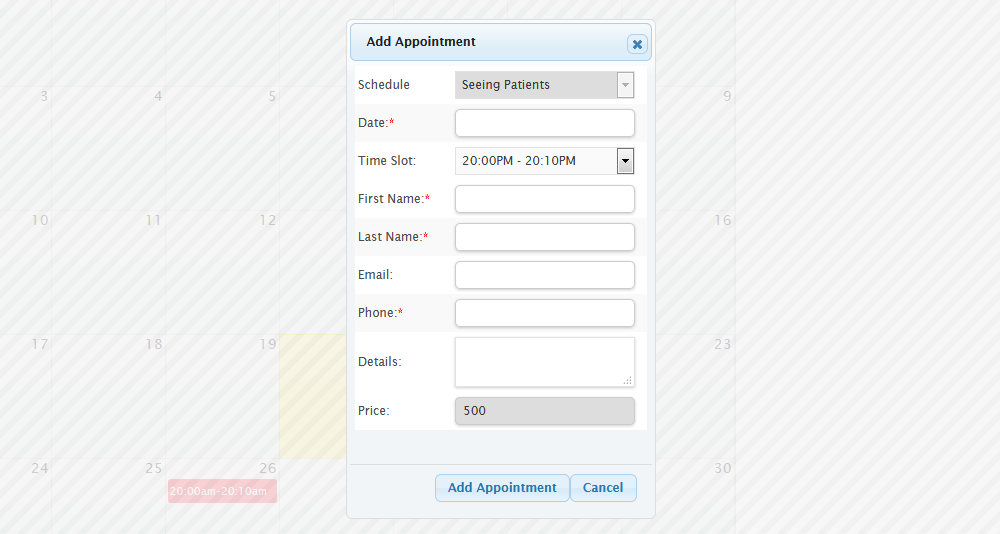
Add new Appointment form Appointment Scheduling > Add Appointment. Here insert your necessary fields such as Schedule, Timeslot, Date, Your information, Price and Payment Method. Before add an appointment, you must insert your Schedule and Timeslot.
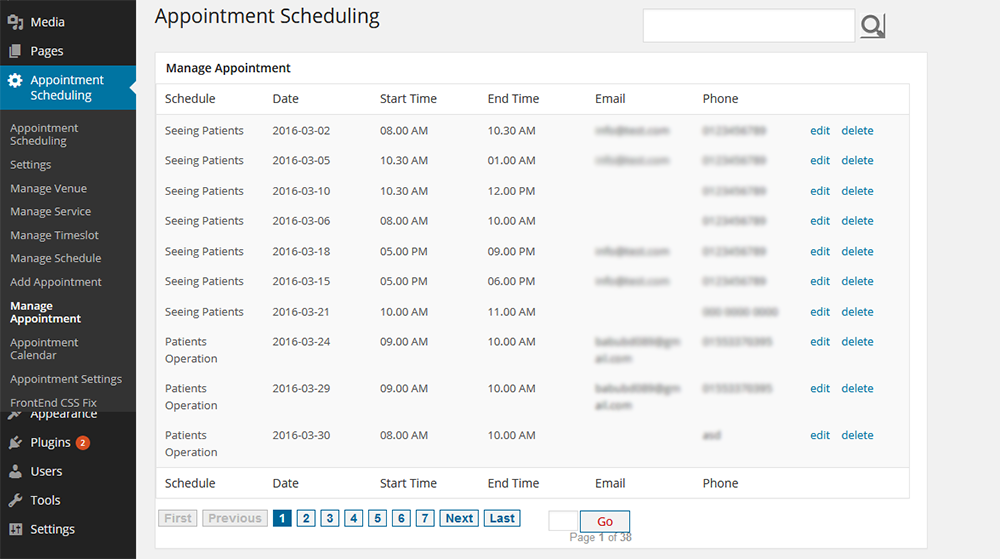
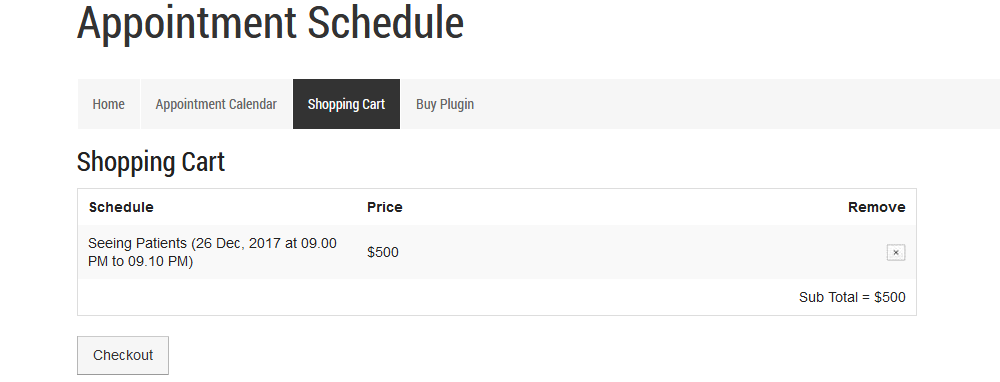
This option will display all Appointments which has created by Admin and also Users from forntend.
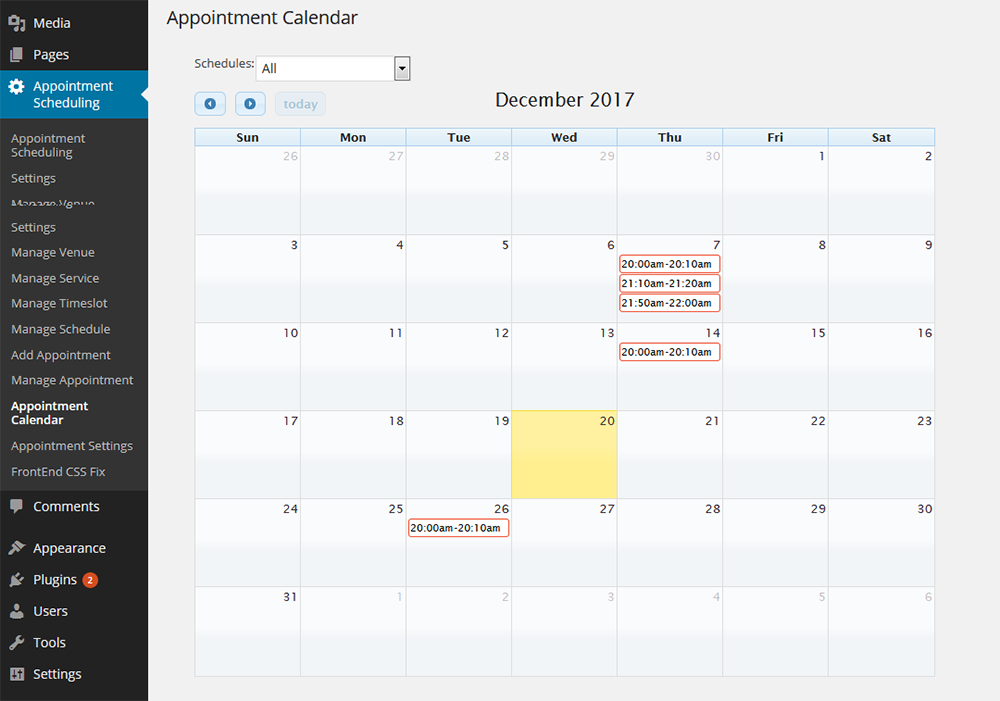
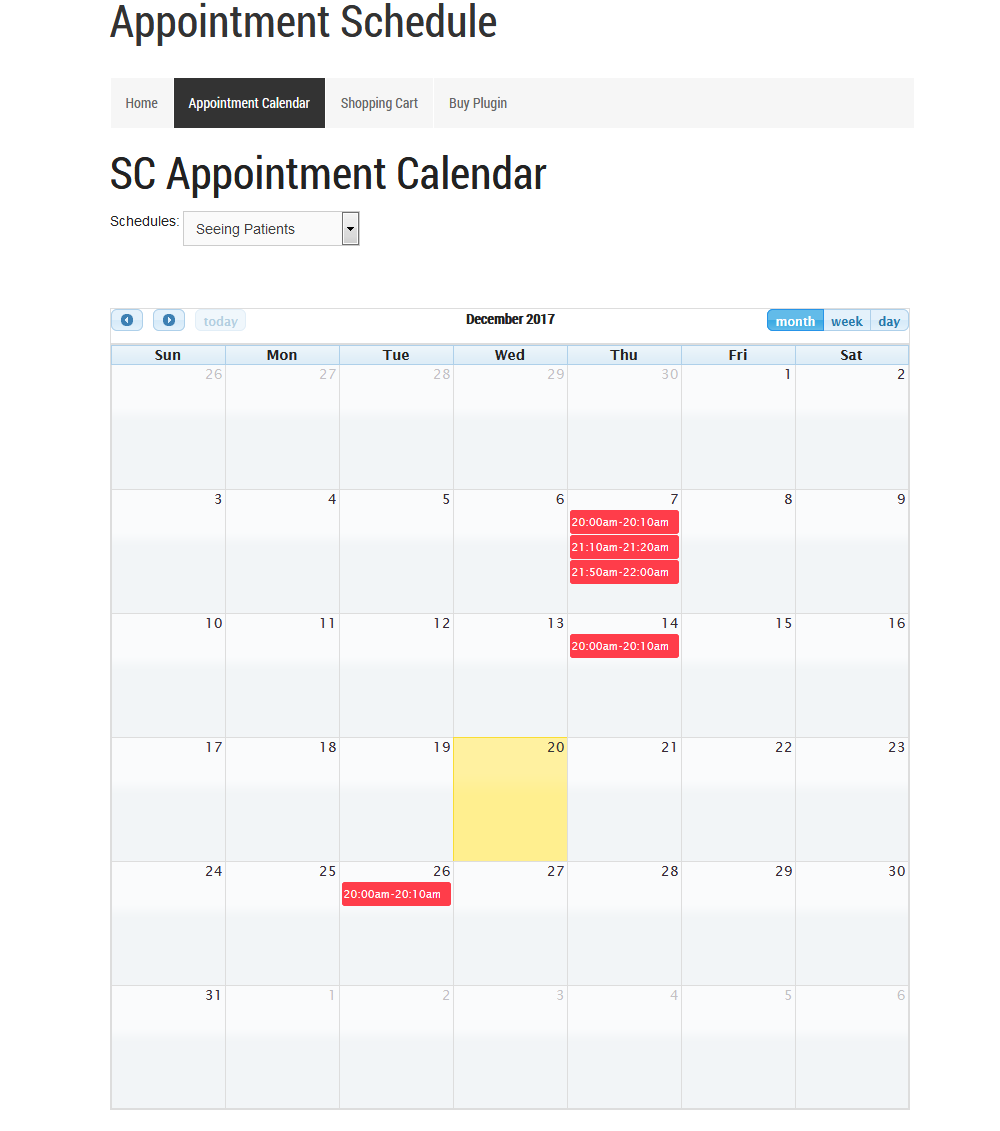
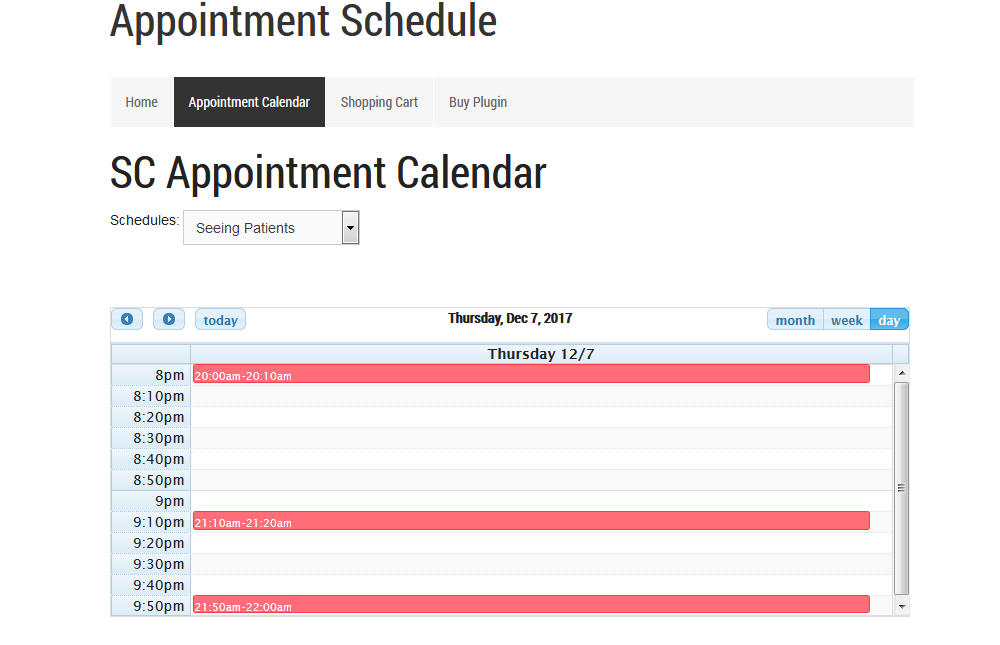
After insert some appoinment, the calendar will look like this..
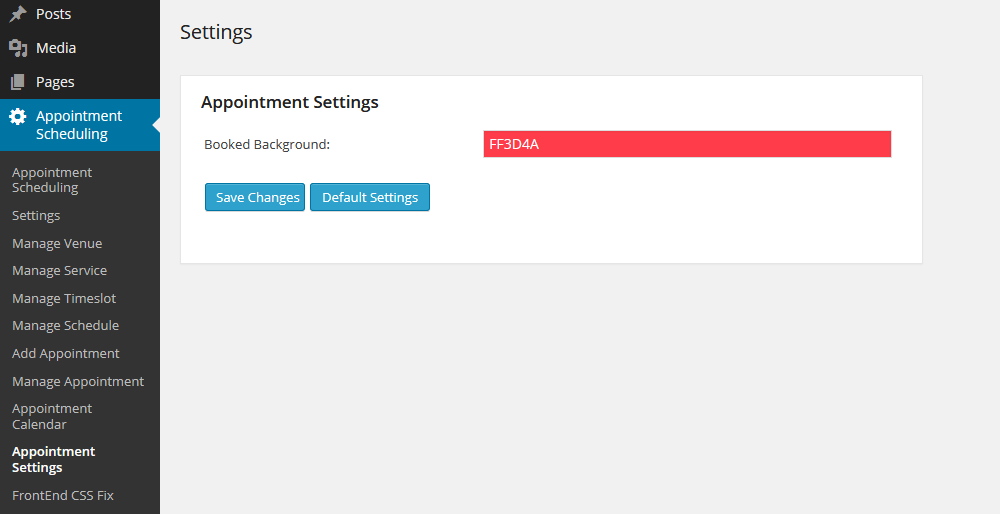
"Booked Background" color of Appointment Calendar can be set from here.
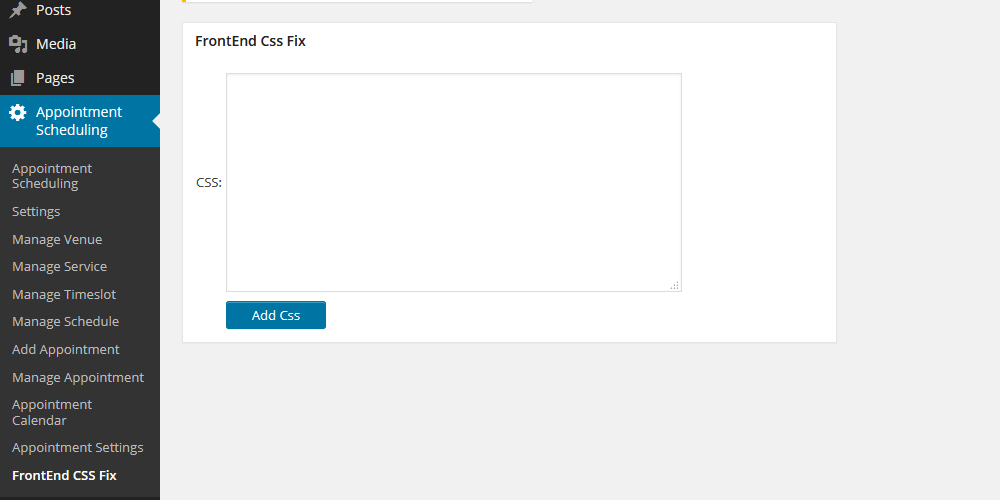
Advanced users can use this panel to add extra CSS to decorate frontend or other needs.